
How to Adjust Your Bike's Brakes: A Step-by-Step Guide for Beginners
May 04, 2025
Recommended

Budget-Friendly Road Bikes with Shimano Groupsets for Every Rider
Jun 30, 2025
Explore budget-friendly road bikes equipped with reliable Shimano groupsets. Learn how to choose affordable yet high-quality bikes and discover expert tips to enhance your cycling experience with Healthy Cycling.
Read More
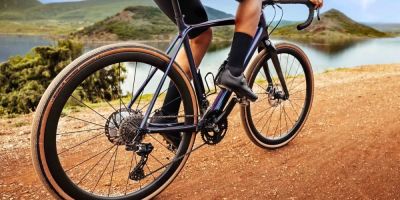
Best Gravel Bike Tires for Mixed Terrain: Expert Tips and Recommendations
Jun 30, 2025
Discover the best gravel bike tires for mixed terrain with detailed insights, expert reviews, and real rider experiences. Learn how to choose durable and versatile tires to enhance your gravel cycling adventures.
Read More
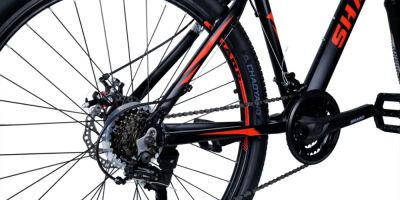
Choosing the Best Mountain Bikes with Chain Guides for Superior Performance
Jun 30, 2025
Discover why mountain bikes with chain guides are essential for off-road enthusiasts. Learn about their benefits, features, and how to select the perfect bike to enhance your cycling experience.
Read More
Choosing Hybrid Bikes with Comfortable Saddles for a Smooth Ride
Jun 30, 2025
Explore the benefits of hybrid bikes with comfortable saddles and learn how to select the best ergonomic bike seats for an enjoyable and smooth cycling experience. Discover expert tips and real user stories.
Read More
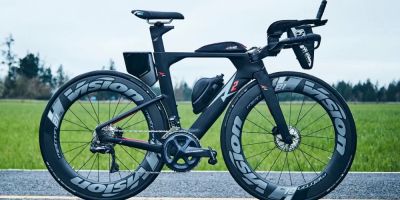
Triathlon Bikes Optimized for Transition: Enhancing Speed and Efficiency
Jun 29, 2025
Explore triathlon bikes optimized for transition that enhance speed and efficiency. Learn about key features, expert insights, and real-world examples to improve your triathlon performance.
Read More

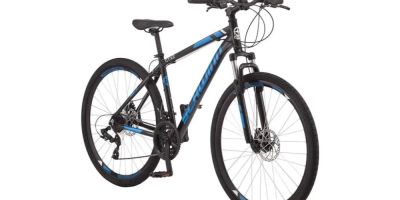
Durable Mountain Bikes Featuring Integrated Frame Protection for Rugged Trails
Jun 29, 2025
Discover the benefits of mountain bikes with integrated frame protection that offer durability and performance on rugged trails. Explore expert advice and real user stories. Find top models at Healthy Cycling.
Read More
Budget-Friendly Road Bikes with Shimano Groupsets for Every Rider
Jun 30, 2025
Explore budget-friendly road bikes equipped with reliable Shimano groupsets. Learn how to choose affordable yet high-quality bikes and discover expert tips to enhance your cycling experience with Healthy Cycling.
Read More Best Gravel Bike Tires for Mixed Terrain: Expert Tips and Recommendations
Jun 30, 2025
Discover the best gravel bike tires for mixed terrain with detailed insights, expert reviews, and real rider experiences. Learn how to choose durable and versatile tires to enhance your gravel cycling adventures.
Read More Choosing the Best Mountain Bikes with Chain Guides for Superior Performance
Jun 30, 2025
Discover why mountain bikes with chain guides are essential for off-road enthusiasts. Learn about their benefits, features, and how to select the perfect bike to enhance your cycling experience.
Read More Choosing Hybrid Bikes with Comfortable Saddles for a Smooth Ride
Jun 30, 2025
Explore the benefits of hybrid bikes with comfortable saddles and learn how to select the best ergonomic bike seats for an enjoyable and smooth cycling experience. Discover expert tips and real user stories.
Read More Triathlon Bikes Optimized for Transition: Enhancing Speed and Efficiency
Jun 29, 2025
Explore triathlon bikes optimized for transition that enhance speed and efficiency. Learn about key features, expert insights, and real-world examples to improve your triathlon performance.
Read More Durable Mountain Bikes Featuring Integrated Frame Protection for Rugged Trails
Jun 29, 2025
Discover the benefits of mountain bikes with integrated frame protection that offer durability and performance on rugged trails. Explore expert advice and real user stories. Find top models at Healthy Cycling.
Read MoreRelated Categories
Recommended