Building Your Own Bike: The Ultimate Guide to DIY Bike Assembly
Have you ever wanted to build your own bike from scratch? Whether you’re a cycling enthusiast or someone looking to learn more about bike mechanics, building your own bike can be an incredibly rewarding experience. In this guide, I’ll take you through each step of the process, from choosing the right parts to assembling them together. By the end, you’ll have the knowledge and confidence to build a bike that’s tailored to your personal preferences. Let’s dive in!
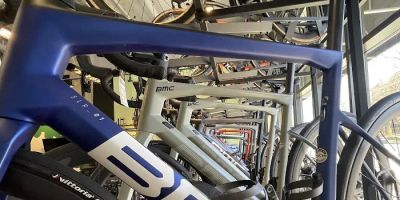
Conte's Bike Shop
3449 Wilson Blvd, Arlington, VA 22201, USA
1. Choosing the Right Bicycle Frame
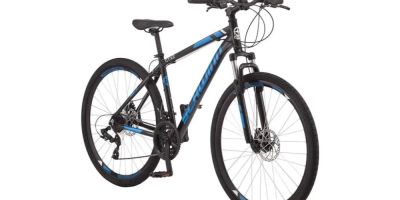
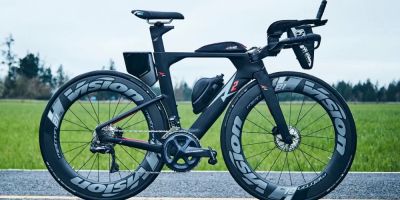
The first step in building your bike is selecting the right bicycle frame. This is the foundation of your bike, and it plays a crucial role in its overall performance and comfort. There are several types of frames to choose from, including road bike frames, mountain bike frames, and hybrid bike frames. Each type is designed for a different purpose, so it’s important to pick one that suits your needs.
When selecting your frame, consider factors such as material, size, and geometry. Most bike frames are made from aluminum, steel, or carbon fiber. Aluminum is lightweight and affordable, while carbon fiber is ultra-light but comes at a premium price. Steel offers durability and a smooth ride but can be heavier.
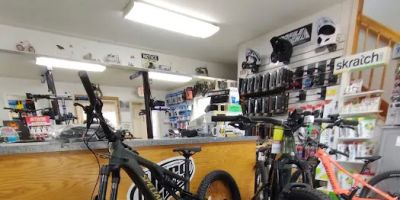
Bicycle Barn LLC
839 Reading Rd, East Earl, PA 17519, USA
2. Selecting Your Bike Components
Now that you have your frame, it’s time to choose the other components that will bring your bike to life. This includes things like wheels, tires, handlebars, pedals, and the drivetrain. The components you select will directly affect your bike’s performance, comfort, and durability.
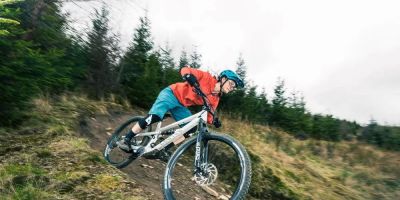
2.1 Wheels and Tires
Your wheels and tires are essential for smooth riding. Road bike wheels tend to be thinner and lighter, while mountain bike wheels are wider and more durable. When selecting tires, consider the type of terrain you’ll be riding on. If you’re building a mountain bike, go for knobby tires that provide better grip. For road bikes, smooth tires are best for speed and efficiency.
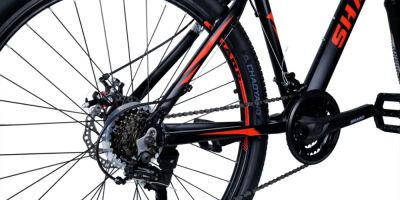
2.2 Drivetrain
The drivetrain includes the gears, chain, crankset, and derailleurs that allow you to shift and pedal your bike. When building a bike, you’ll need to decide whether you want a single-speed bike or a geared bike. A single-speed bike is simpler and lighter, while a geared bike offers more versatility and is better suited for varied terrain.
3. Assembling Your Bike
Once you’ve gathered all your components, it’s time to put everything together. This process involves several key steps:
3.1 Installing the Bottom Bracket and Crankset
Start by installing the bottom bracket onto your frame. The bottom bracket is the part that connects the pedal cranks to the bike frame. After that, attach the crankset to the bottom bracket. This is a crucial step, as the crankset determines how your pedals interact with the bike.
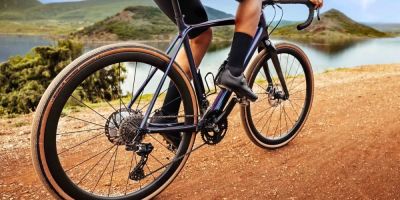
3.2 Attaching the Fork and Headset
The fork is what holds the front wheel in place, and the headset is the system that allows the handlebars to turn smoothly. Install the headset first, making sure it’s properly aligned. Then, slide the fork through the headset and secure it. Ensure that the fork is properly tightened to prevent any wobbling.
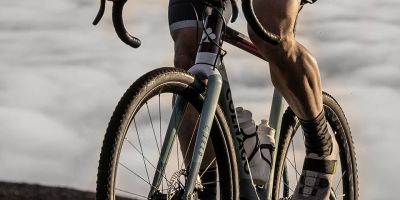
3.3 Installing the Wheels and Tires
Next, it’s time to attach the wheels. Make sure the wheels are properly aligned with the frame and fork before tightening them into place. If your bike uses quick-release skewers, simply slide the wheel into the dropout and tighten the skewer. If you’re using bolts, you’ll need to secure them with a wrench.
3.4 Installing the Brakes and Handlebars
Now, you can install the brakes and handlebars. For brakes, decide whether you want rim brakes or disc brakes. Rim brakes are more common on road bikes, while disc brakes offer superior stopping power, especially in wet conditions.
3.5 Adding the Drivetrain
Install the chain, derailleurs, and shifters. This part of the build can be a bit tricky, especially if you’re new to bike assembly. Be sure to properly route the chain and adjust the derailleurs to ensure smooth shifting.
4. Tuning and Adjusting Your Bike
Once the bike is assembled, it’s important to fine-tune it for optimal performance. This includes adjusting the brakes, gears, and handlebars. Test ride the bike to ensure everything is working properly. If you notice any issues, make the necessary adjustments until the bike feels perfect.
It’s also a good idea to take your bike for a short ride to make sure everything is secure and functioning. Check the tire pressure, brake pads, and chain tension to ensure a safe and smooth ride.
5. Maintaining Your Custom-Built Bike
Building your own bike is just the beginning. To keep it running smoothly, regular maintenance is essential. Clean and lubricate your chain regularly, check the brake pads for wear, and inspect the wheels for any damage. By performing routine maintenance, you’ll ensure that your bike lasts for years to come.
Over time, you might want to upgrade certain components, like the wheels or the drivetrain, to improve performance. The great thing about building your own bike is that you can always make adjustments and modifications to suit your needs.
6. My Personal Bike-Building Journey
Building my own bike was an experience I’ll never forget. I started with a basic road bike frame and slowly added each component over several weeks. At first, I was a little intimidated by the process, but as I learned more about each part and how they worked together, I became more confident. The moment I took my bike for its first ride was incredible – it felt like a true reflection of my personality and my hard work. I still remember that sense of accomplishment when I crossed the finish line on my very own custom bike.
Building your own bike is not just about the final product; it’s about the journey. It’s about learning new skills, solving problems, and creating something that’s uniquely yours. If you’re thinking about building your own bike, I highly encourage you to take the plunge. The process can be challenging, but the rewards are well worth it!